Lutron Aurora in Home Assistant
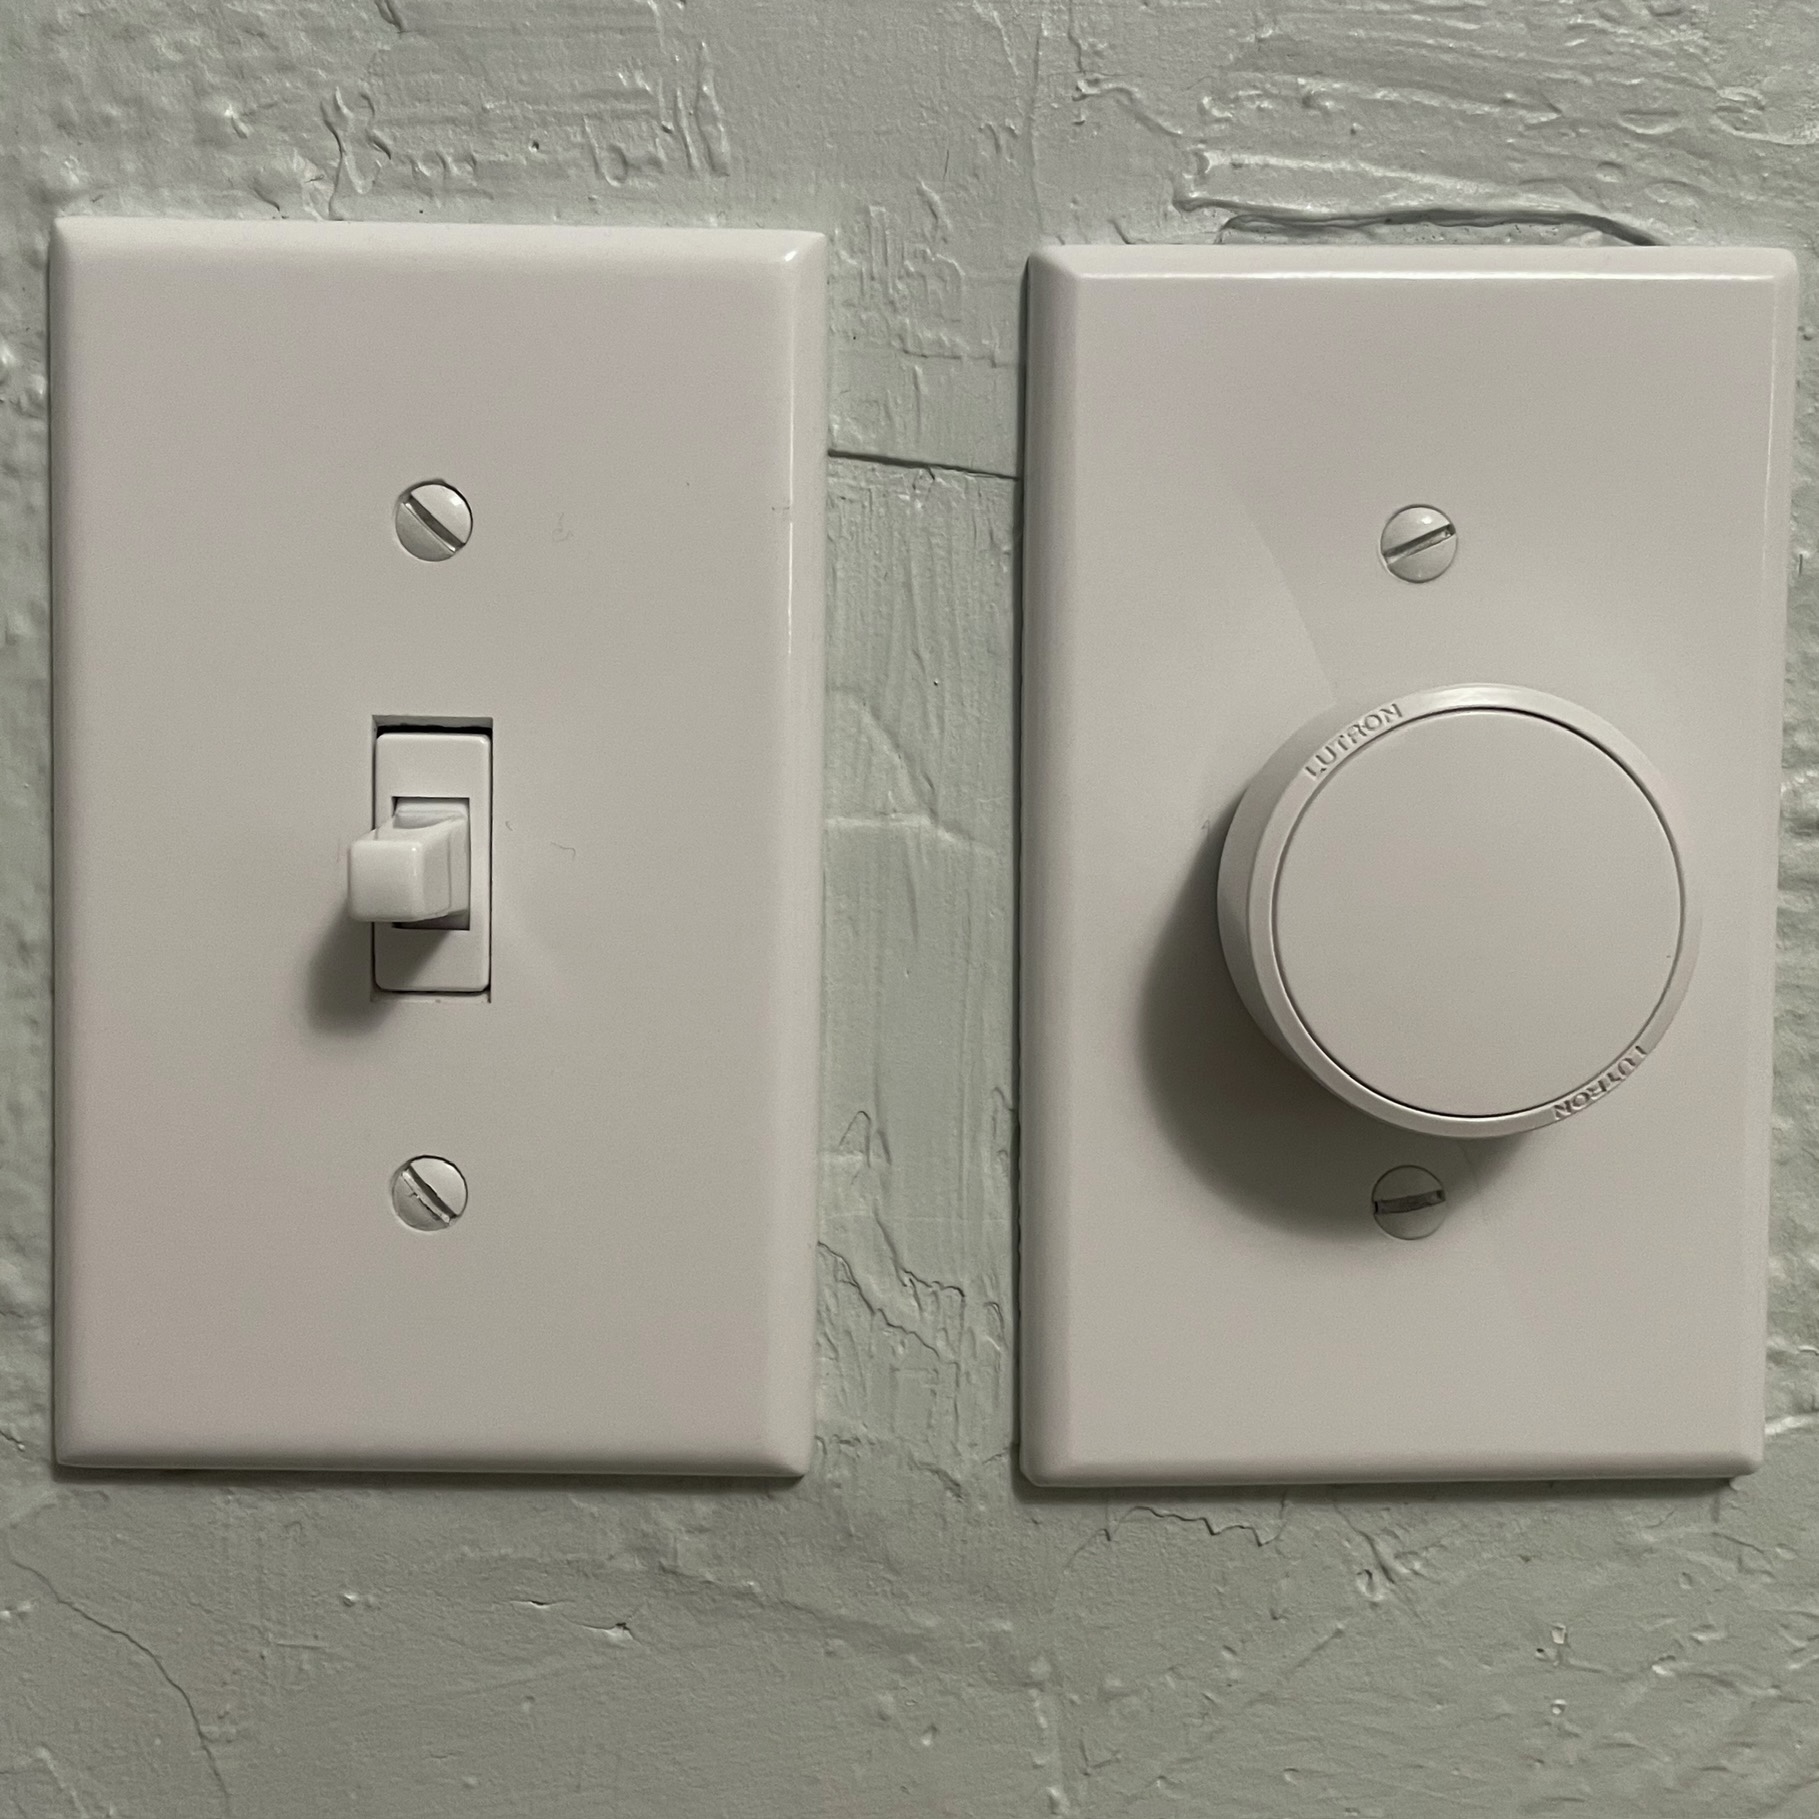
Lutron makes a really terrific smart switch in the Aurora. It is easy to mount in any room with a toggle switch, provides a great user experience, and plays double duty as a switch blocker, which is invaluable for smart bulbs. It also integrates closely and easily with the Hue ecosystem. Unfortunately, as I moved from the Hue hub to my own Home Assistant instance, I did not find them easy to use.
First, I had to figure out how to pair an Aurora that was already paired to a Hue hub. Many devices have a reset button of some sort, but the Aurora does not. Eventually, I dug up the following steps for a factory reset:
- Tap the button quickly 3 times.
- On the third tap, hold the button for 6 seconds, until the LED blinks.
- Once the LED is blinking, quickly tap the button 3 times again.
- The LED will now flash rapidly to note success.
Using ZHA with a Conbee II Zigbee controller, I was able to easily connect the Aurora, but it does not provide any obvious means of interaction. The only way to use the switch is with an event driven automation. I found a few people who put up blueprints for the switch, but I was not really happy with any of them.
The Aurora keeps its own state information. So instead of sending a “toggle” signal, it sends either an “on” or “off” signal. This means that the state can become desynchronized from Home Assistant if, say, another automation turns the light on or off. The switch does the same thing for dimming; it sends a specific level, and it sends a higher level if you turn it up and a lower level if you turn it down. The blueprints I found all kept this behavior, meaning my lights often didn’t react as expect on first use of the switch. I used one of these blueprints for a while, but then got fed up and decided to investigate further.
It turns out, I should not have been hesitant. The event system was not difficult to figure out, and the Aurora gives other signals that can be used to coax better behavior out of it. Now they are operating perfectly, with no synchronization problems. If you want to implement this solution, follow along below.
First, pair your Aurora switch as above. It should appear in your list of devices, but not have any state information to work with. Next, go to the Developer Tools menu from the sidebar in Home Assistant. Go to the Events tab. Under Listen to events, subscribe to “zha_event” and click start listening. Now press a button on your Aurora. You should see an output that looks something like this.
event_type: zha_event
data:
  device_ieee: ff:ff:00:0f:e7:fc:3e:4e
  unique_id: ff:ff:00:0f:e7:fc:3e:4e:1:0x0008
  device_id: fbbf4214e90bcb1f639479d4d7dbf364
  endpoint_id: 1
  cluster_id: 8
  command: move_to_level_with_on_off
  args:
    - 0
    - 7
  params:
    level: 0
    transition_time: 7
origin: LOCAL
time_fired: "2023-10-19T13:24:06.197975+00:00"
context:
  id: 01HD41Q2DN90GSAQEB8C4F497M
  parent_id: null
  user_id: null
There is a lot I could unpack here, but the important part is that you need to copy the line that starts with “unique_id” and save it for later.
Now you can go to Settings and Automations and create a new automation to control your light using the Aurora. In the upper right menu, select Edit in YAML and copy the following code into the space provided.
alias: "Name of Your Automation"
description: ""
trigger:
  - platform: event
    event_type: zha_event
    event_data:
      unique_id: ff:ff:00:0f:e6:fc:4e:3e:1:0x0008
condition: []
action:
  - choose:
      - conditions:
          - condition: template
            value_template: >-
              {%if
              (trigger.event.data.args[1]|int)==7%}true{%else%}false{%endif%}
        sequence:
          - service: light.toggle
            data:
              transition: 1
              color_temp: 375
              brightness: 255
            target:
              entity_id: light.NameOfYourLight
      - conditions:
          - condition: template
            value_template: >-
              {%if
              (trigger.event.data.args[1]|int)==2%}true{%else%}false{%endif%}
        sequence:
          - service: light.turn_on
            data:
              transition: 0.05
              brightness: "{{ (trigger.event.data.args[0]|int) }}"
            target:
              entity_id: light.NameOfYourLight
mode: single
You will need to change a few lines. Obviously, on the first line, set the alias to whatever you want to name this automation. Then find the line starting with “unique_id” and overwrite it with the ID that we copied from the event in the earlier step. Now there are two lines that start with “entity_id”. Change them to reflect the light you want to control (it should be the same entity both times). If desired, you can switch back to Edit in visual editor from the menu in the upper right for this step. You might want to change or remove the “color_temp” line; I wanted my light to come back to the same color every time I manually control it.
From here, you can save your automation and you should be all set. Enjoy!
To leave a comment, email comments@dorthe.us with your name and comment text.